


Parking lot dent removal is a DIY process for fixing vehicle damage caused by parking lot mishaps. Assess dent severity and use tools like dent pullers, heat guns, or mallets to reshape metal. For severe dents, invest in a repair kit for professional-grade results. This guide offers step-by-step instructions, starting with assessment, using heat/pullers, smoothing, painting, and maintaining to prevent future damage.
Are you tired of looking at those unsightly dents in your vehicle’s parking lot adventures? Good news! Parking lot dent removal is not just a professional service anymore. With the right tools and knowledge, DIY enthusiasts can now tackle these dents effectively. This comprehensive guide will walk you through the process, from understanding the methods to gathering the essential tools and following step-by-step instructions. Get ready to restore your vehicle’s gleam!
- Understanding Parking Lot Dent Removal Process
- Tools and Equipment Required for DIY Repair
- Step-by-Step Guide to Removing Dents Effectively
Understanding Parking Lot Dent Removal Process

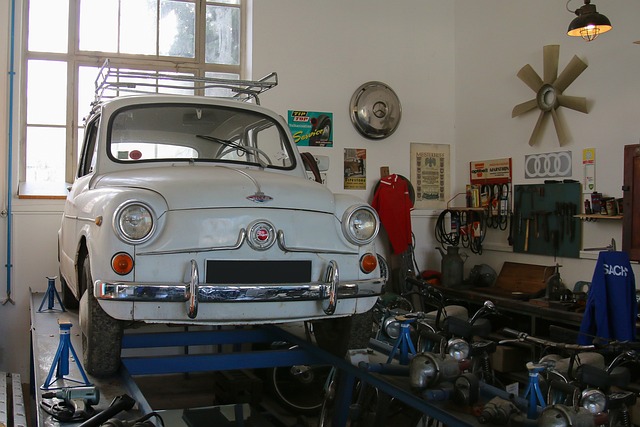
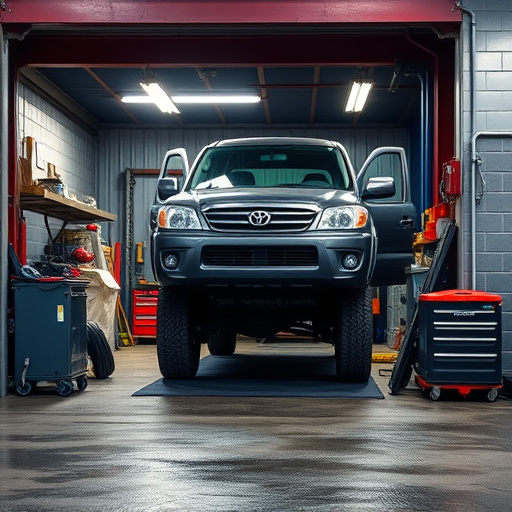
Parking lot dent removal is a process that involves repairing damage to vehicles typically incurred from parking lot mishaps or minor collisions. It’s a service often sought by car owners who want to avoid the hassle and cost of taking their vehicle to a professional autobody shop. Understanding the process is key before attempting any DIY methods for parking lot dent removal.
The initial step involves assessing the extent of the damage, which can range from small dings to more significant dents in the fender or body panel. For minor cases, one might use specialized tools like suction cups and pry bars to gently pull out the dented area, returning it to its original shape. This method, while effective for smaller dents, requires precision and care to avoid further damaging the vehicle’s surface. More severe dents may necessitate the use of more advanced techniques, such as heating or cold pressure application, to reshape the metal, followed by painting and finishing to match the car’s original color and ensure a smooth, seamless repair akin to professional fender repair services.
Tools and Equipment Required for DIY Repair

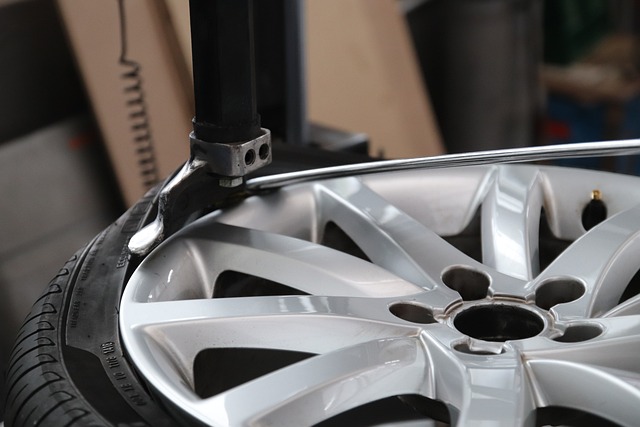
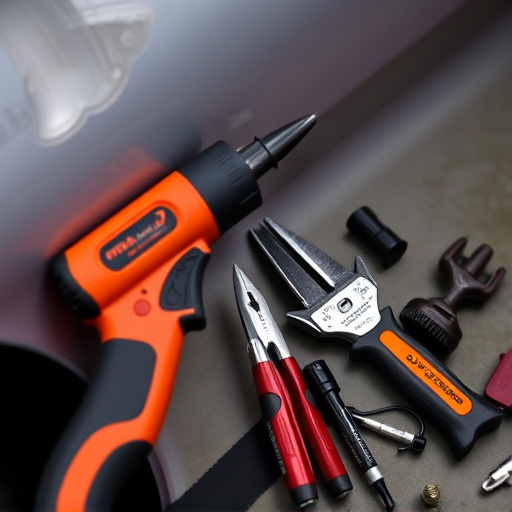
Before tackling any DIY parking lot dent removal project, it’s essential to gather the right tools and equipment. For small dents and dings, a set of specialized tools like a dent puller or a rubber mallet can work wonders. These tools are designed to gently pry out the damaged area without causing further harm to your vehicle’s paintwork. They often come with various size heads to accommodate different types of dents.
Additionally, you’ll need some essential accessories such as a set of screwdrivers (both flathead and Phillips), a hammer, and safety goggles. For more severe cases of hail damage repair or larger dents, you might consider investing in a dent repair kit that includes a primer, filler, and paint to match your vehicle’s auto painting. These kits provide a comprehensive solution for vehicle body repair, ensuring a seamless and professional finish.
Step-by-Step Guide to Removing Dents Effectively
Removing dents from a parking lot or driveway is a DIY-able task that can save you time and money. Here’s a step-by-step guide to effectively addressing those unsightly bumps:
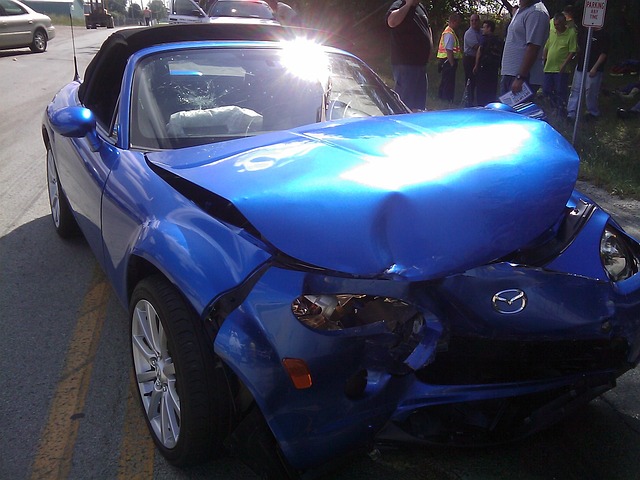
1. Assess the Dent: Before beginning, carefully examine the dent’s size, depth, and location. Smaller, shallower dents are easier to repair. If the dent is large or close to the edge of a surface, consider if it’s safe to attempt removal yourself. For extensive damage, consulting with a professional for auto glass replacement or parking lot dent removal may be necessary.
2. Gather Your Tools: You’ll need a dent puller (a metal tool designed to push out dents), a hammer, and a piece of wood (like a door panel) that roughly matches the size of the dent. For more severe cases, a vacuum pump or a specialized dent removal kit might be required, which can be found at auto parts stores.
3. Apply Heat: Start by applying heat to the dented area using a heat gun or hot water. This helps to expand the metal slightly, making it easier to remove. Be careful not to overheat, as this could damage the surface.
4. Use the Dent Puller: Once the metal is warmed, insert the dent puller prongs under the edge of the dent and slowly pry out the dented area. Apply steady pressure while pulling straight up. For stubborn dents, using a hammer to tap the puller can aid in dislodging it.
5. Smoothen the Surface: After removing the dent, use a mallet and a piece of wood (or a smooth, flat surface) to gently tap around the edge of the removed area to create a smooth transition with the surrounding surface.
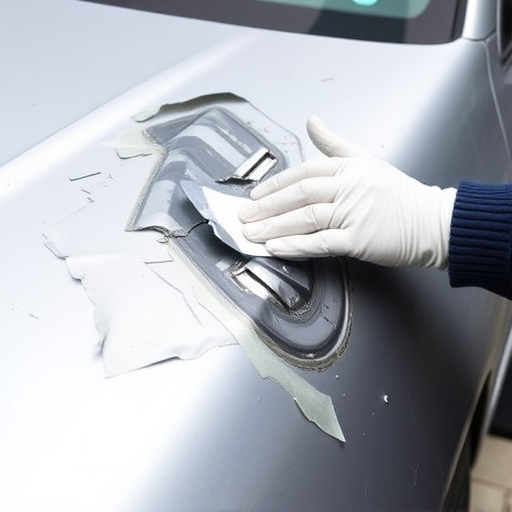
6. Paint and Finish: Finally, if necessary, touch up the paint in the repaired area using a matching auto paint or scratch repair kit. This step is crucial for achieving a seamless finish, especially on high-visibility areas like parking lots or car exteriors. Regular auto maintenance includes keeping an eye out for new dents and promptly addressing them to avoid more extensive damage.
Parking lot dent removal can be a do-it-yourself (DIY) project, but it requires careful consideration and the right tools. By understanding the process and following a structured guide, you can effectively repair dents in your vehicle’s parking lot mishaps. Remember, while DIY methods offer cost savings, complex or severe dents might need professional attention for optimal results. With the right approach and equipment, such as dent removal tools and a thorough understanding of the steps involved, you’ll be able to achieve a smoother finish.